Mini-Tutorial: Off Grid Pressurized Water Sprayer
Half Hippie Half Not participates in the Amazon Services LLC Associates Program, an affiliate advertising program designed to provide a means for sites to earn advertising fees by advertising and linking to Amazon.com. As an Amazon Associate I earn from qualifying purchases. This site also participates in other affiliate programs and is compensated for referring traffic and business to these companies at no additional charge to you.
Cade shows how we set up our small pressurized water system that powered our hose for our project on our off grid property.
PARTS YOU WILL NEED TO SET UP THIS SYSTEM::
- IBC Water Tote (we bought used food grade from a restaurant supplier, but you can also buy new at places like Home Depot etc.)
- IBC Tote Adapter
- IBC Tote Hose Adapter
- On Demand RV Pump:
*115 volt RV Pump (if you have a power source, like solar. Don’t forget a power cord if you need one)
*12 volt DC RV Pump (if you will be using a battery source)
Grab the Printable Instructions Here:
Off Grid Pressurized Water Sprayer
This simple, off-grid water sprayer is perfect for homesteading, gardening, or general water tasks where electricity and traditional plumbing aren't available!
Materials
- IBC tote
- On-demand RV water pump (120V or 12V DC, depending on your power source)
- Hose connectors (various types, including slip-on and threaded options)
- Hose (suitable for water connections)
- Spray nozzle
- Extension cord (for powering the pump)
- Solar power source (optional)
Instructions
1. Connect to IBC Tote
- Start by selecting a connector that fits the IBC tote. You might need to try a few types: threaded connectors, slip-over connectors, and rubber fittings. The best option is a slip-on connector that tightens and seals with a rubber fitting.
2. Attach the Hose
- Once the connector is secure on the IBC tote, attach a hose to the connector. Make sure it’s tightly sealed to prevent leaks.
3. Install the On-Demand Pump
- Set up the on-demand pump (an RV pump works well). This pump is powered by either a 120V plug or 12V DC, depending on your available power source.
- We chose a 120V pump because we have a solar-powered trailer, but if you don’t have a solar setup, a 12V DC pump is another option.
4. Connect the Hose to the Pump
- Attach the hose from the IBC tote to the pump’s inlet using appropriate hose fittings. Tighten everything to ensure no leaks.
5. Set Up the Spray Nozzle
- On the other end of the hose, connect a spray nozzle. This nozzle is activated when water is demanded (e.g., when you turn it on).
6. Power the Pump
- If you're using a 120V pump, plug it into a long extension cord that reaches from your power source (solar trailer or another power source) to the pump. If you're using a 12V DC pump, ensure it’s powered accordingly.
7. Test the System
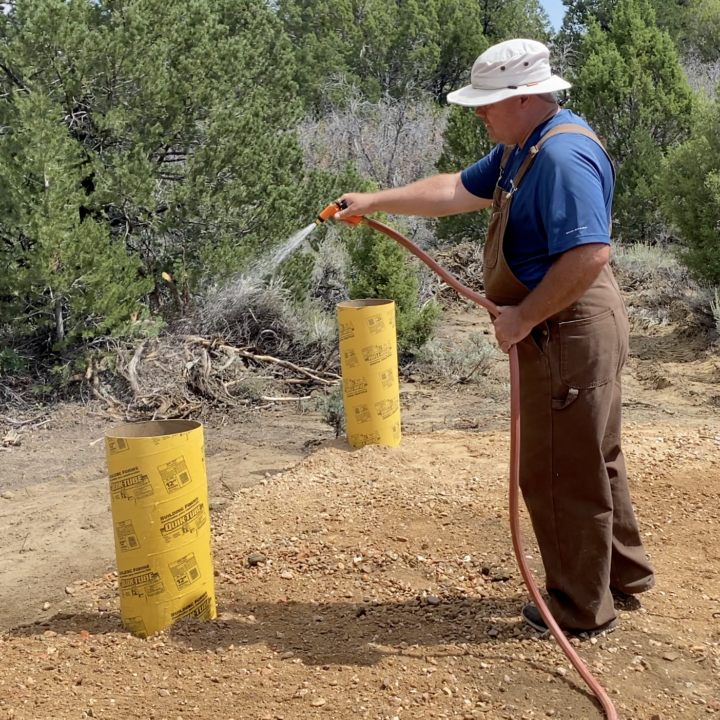
- Once everything is connected, turn on the spray nozzle. The on-demand pump will automatically activate when you open the nozzle, supplying pressurized water. The pump should deliver up to 45 PSI, which is enough for spraying or compacting gravel.
8. Final Check
- Ensure all connections are secure and there are no leaks. The system should provide pressurized water for various tasks around your off-grid setup.
Notes
Tips:
- If you're using the system for spraying or compacting gravel, make sure to keep the hose securely connected and monitor the pressure as it works.
- The IBC tote’s water level may provide some initial pressure, but the pump ensures enough force to get water where you need it.
Half Hippie Half Not participates in the Amazon Services LLC Associates Program, an affiliate advertising program designed to provide a means for sites to earn advertising fees by advertising and linking to Amazon.com. As an Amazon Associate I earn from qualifying purchases. This site also participates in other affiliate programs and is compensated for referring traffic and business to these companies at no additional charge to you.